


TRIỂN KHAI HỆ THỐNG XÁC THỰC HAI BƯỚC CHO CÁC TRUY CẬP TỪ XA DÙNG SSH - Phần 1
1.1 Mô HìNH TỔNG QUAN HỆ THỐNG XáC THỰC DùNG SSH

Hình 1.1 Mô hình tổng quan hệ thống xác thực dùng SSH
Hệ thống xác thực hai bước cho các truy cập từ xa dùng SSH bao gồm hai thành phần chính:
-
Server: là một máy chủ Linux chạy hệ điều hành CentOS6.5 có cài đặt ứng dụng Google Authenticator, và được cài đặt giao thức SSH
-
Client: máy tính cá nhân và một chiếc điện thoại hoặc máy tính bảng có cài đặt ứng dụng Google Authenticator
Google Authenticator: là một chương trình tạo mã xác minh có thể được cài đặt trên các thiết bị có kết nối internet, chương trình này cung cấp một dãy các số để chứng thực tài khoản trong các phiên đăng nhập, trên máy chủ và máy trạm truy cập các dãy số này được đồng bộ hóa về thời gian do đó chúng luôn là một thông số chung cho máy chủ và máy trạm chứng thực phiên đăng nhập trước khi nhập vào mật khẩu, nhờ đó tạo ra cơ chế xác thực hai bước bao gồm:
-
Bước 1: Chứng thực mã xác thực của Google Authenticator
-
Bước 2: Mật khẩu được cung cấp bởi máy chủ
Với loại hình xác thực hai bước này thì dù cho các đối tượng xấu có được thông tin về tên đăng nhập và mật khẩu đăng nhập bằng một hình thức tấn công nào đó thì chúng vẫn không thể đăng nhập được vào hệ thống máy chủ do không xác thực được đoạn mã xác thực do Google Authenticator cung cấp.
1.2 CàI ĐẶT Và TRIỂN KHAI HỆ THỐNG XáC THỰC HAI BƯỚC DùNG SSH
1.2.1. Cài đặt hệ thống
Máy chủ: Cài đặt hệ điều hành CentOS 6
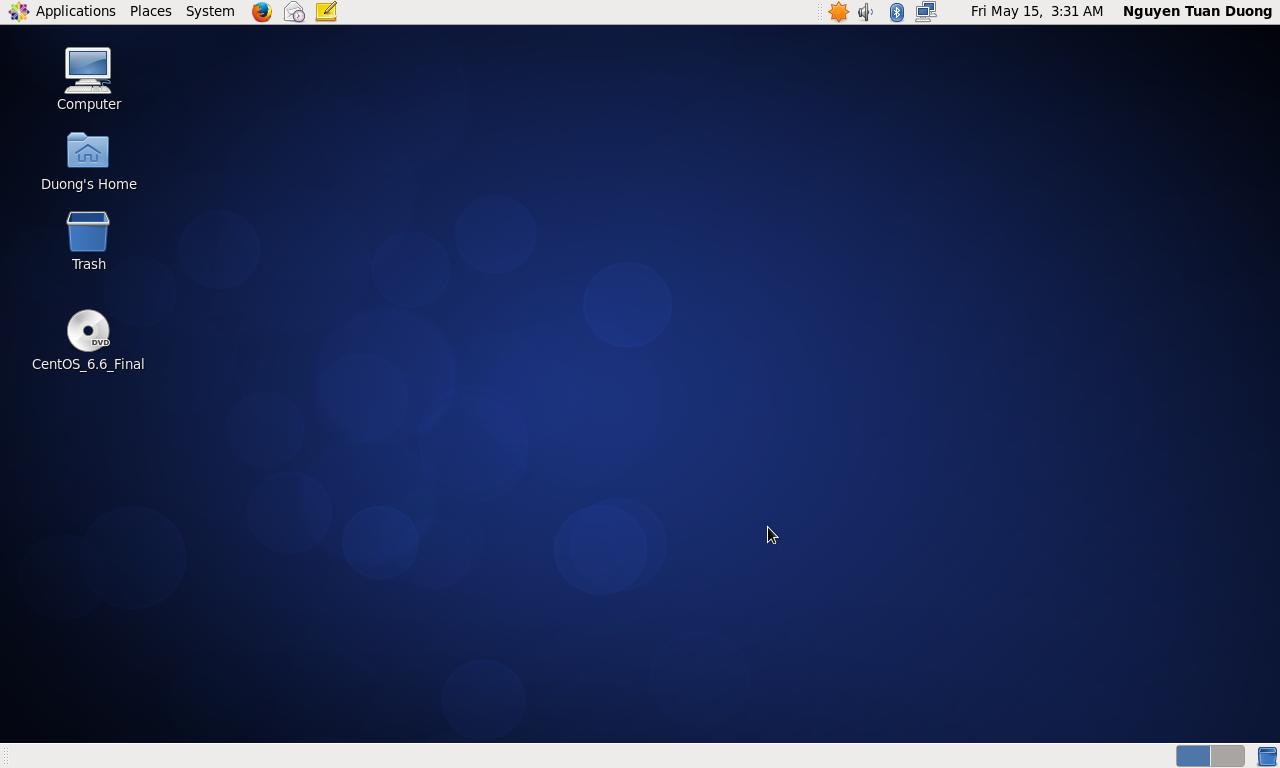
Hình 1.2 Máy chủ CentOS 6
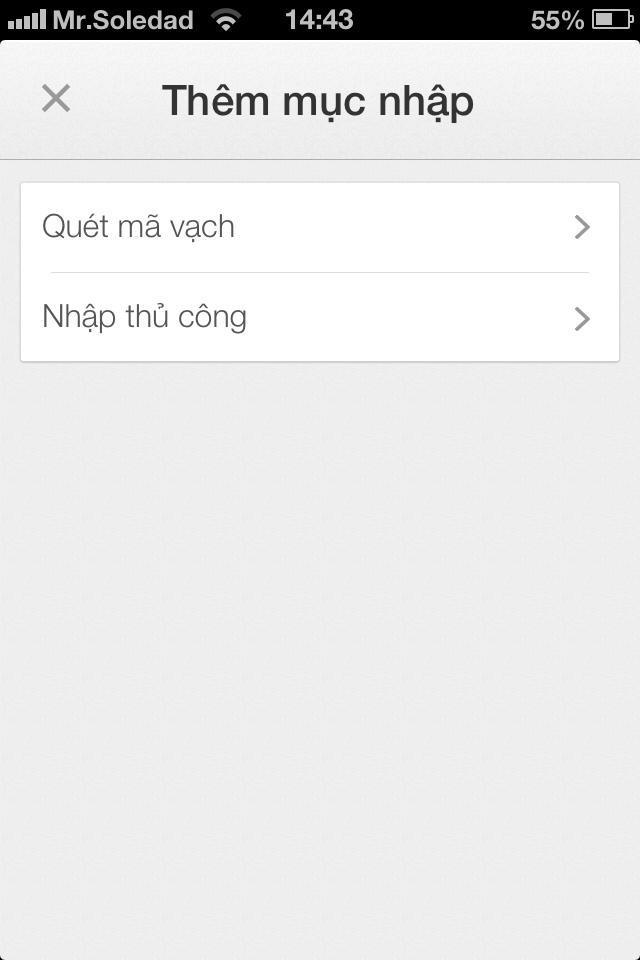
Máy trạm: Cài đặt các công cụ sử dụng giao thức SSH cho việc truy cập từ xa như Private Shell, Putty, OpenSSH, Secure Shell Client…., trên điện thoại cài đặt ứng dụng Google Authenticator

Hình 1.3 Secure Shell Client
Hình 1.4 Google Authenticator cài đặt trên điện thoại
1.2.2. Triển khai hệ thống
Sau khi kiểm tra địa chỉ IP hoặc hostname của máy chủ ta truy cập vào với tài khoản và mật khẩu được cấp bằng công cụ Secure Shell Client, ở lần truy cập khi chưa cài đặt hệ thống này, máy chủ sẽ yêu cầu máy khách nhập đúng mật khẩu được cấp
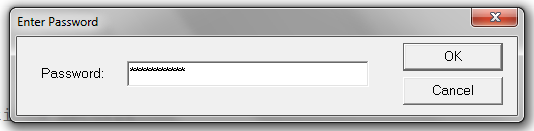
Hình 1.5 Đăng nhập hệ thống
Sau khi đăng nhập vào tài khoản root thành công, ta tiến hành cài đặt các gói tin cần thiết bằng câu lệnh:
# cd /usr/local/src/
# yum install pam-devel make gcc-c++ wget
[root@SSHServer6 ~]# cd /usr/local/src/
[root@SSHServer6 src]# yum install pam-del make gcc-c++ wget
Loaded plugins: fastestmirror, refresh-packagekit, security
Setting up Install Process
base | 1.7 kB 00:00
base/primary_db | 1.6 MB 00:02
extras | 1.4 kB 00:00
extras/primary_db | 29 kB 00:00
updates | 1.4 kB 00:00
updates/primary_db | 1.1 MB 00:02
No package pam-del available.
Package 1:make-1.81-20.el6.i686 already installed and latest version
Resolving Dependencies
--> Running transaction check
---> Package gcc-c++.i686 0:4.4.7-11.el6 will be installed
--> Processing Dependency: libstdc++-devel = 4.4.7-11.el6 for package: gcc-c++-4.4.7-11.el6.i686
--> Processing Dependency: gcc = 4.4.7-11.el6 for package: gcc-c++-4.4.7-11.el6.i686
--> Processing Dependency: libmpfr.so.1 for package: gcc-c++-4.4.7-11.el6.i686
---> Package wget.i686 0:1.12-5.el6 will be updated
---> Package wget.i686 0:1.12-5.el6_6.1 will be an update
--> Running transaction check
---> Package gcc.i686 0:4.4.7-11.el6 will be installed
--> Processing Dependency: cpp = 4.4.7-11.el6 for package: gcc-4.4.7-11.el6.i686
--> Processing Dependency: cloog-ppl >= 0.15 for package: gcc-4.4.7-11.el6.i686
---> Package libstdc++-devel.i686 0:4.4.7-11.el6 will be installed
---> Package mpfr.i686 0:2.4.1-6.el6 will be installed
--> Running transaction check
---> Package cloog-ppl.i686 0:0.15.7-1.2.el6 will be installed
--> Processing Dependency: libppl_c.so.2 for package: cloog-ppl-0.15.7-1.2.el6.i686
--> Processing Dependency: libppl.so.7 for package: cloog-ppl-0.15.7-1.2.el6.i686
---> Package cpp.i686 0:4.4.7-11.el6 will be installed
--> Running transaction check
---> Package ppl.i686 0:0.10.2-11.el6 will be installed
--> Finished Dependency Resolution
Dependencies Resolved
=============================================================
Package Arch Version Repository Size
=============================================================
Installing:
gcc-c++ i686 4.4.7-11.el6 base 4.3 M
Updating:
wget i686 1.12-5.el6_6.1 updates 483 k
Installing for dependencies:
cloog-ppl i686 0.15.7-1.2.el6 base 93 k
cpp i686 4.4.7-11.el6 base 1.4 M
gcc i686 4.4.7-11.el6 base 8.2 M
libstdc++-devel i686 4.4.7-11.el6 base 1.6 M
mpfr i686 2.4.1-6.el6 base 153 k
ppl i686 0.10.2-11.el6 base 1.3 M
Transaction Summary
=============================================================
Install 7 Package(s)
Upgrade 1 Package(s)
Total download size: 19 M
Is this ok [y/N]: y
Downloading Packages:
(1/8): cloog-ppl-0.15.7-1.2.el6.i686.rpm | 93 kB 00:00
(2/8): cpp-4.4.7-11.el6.i686.rpm | 1.4 MB 00:02
(3/8): gcc-4.4.7-11.el6.i686.rpm | 8.2 MB 00:05
(4/8): gcc-c++-4.4.7-11.el6.i686.rpm | 4.3 MB 00:03
(5/8): libstdc++-devel-4.4.7-11.el6.i686.rpm | 1.6 MB 00:01
(6/8): mpfr-2.4.1-6.el6.i686.rpm | 153 kB 00:00
(7/8): ppl-0.10.2-11.el6.i686.rpm | 1.3 MB 00:00
(8/8): wget-1.12-5.el6_6.1.i686.rpm | 483 kB 00:00
-------------------------------------------------------------
Total 1.4 MB/s | 19 MB 00:14
warning: rpmts_HdrFromFdno: Header V3 RSA/SHA1 Signature, key ID c105b9de: NOKEY
Retrieving key from file:///etc/pki/rpm-gpg/RPM-GPG-KEY-CentOS-6
Importing GPG key 0xC105B9DE:
Userid : CentOS-6 Key (CentOS 6 Official Signing Key)
Package: centos-release-6-6.el6.centos.12.2.i686 (@anaconda-CentOS-201410241409.i386/6.6)
From : /etc/pki/rpm-gpg/RPM-GPG-KEY-CentOS-6
Is this ok [y/N]: y
Running rpm_check_debug
Running Transaction Test
Transaction Test Succeeded
Running Transaction
Installing : libstdc++-devel-4.4.7-11.el6.i686 1/9
Installing : mpfr-2.4.1-6.el6.i686 2/9
Installing : cpp-4.4.7-11.el6.i686 3/9
Installing : ppl-0.10.2-11.el6.i686 4/9
Installing : cloog-ppl-0.15.7-1.2.el6.i686 5/9
Installing : gcc-4.4.7-11.el6.i686 6/9
Installing : gcc-c++-4.4.7-11.el6.i686 7/9
Updating : wget-1.12-5.el6_6.1.i686 8/9
Cleanup : wget-1.12-5.el6.i686 9/9
Verifying : libstdc++-devel-4.4.7-11.el6.i686 1/9
Verifying : cpp-4.4.7-11.el6.i686 2/9
Verifying : wget-1.12-5.el6_6.1.i686 3/9
Verifying : mpfr-2.4.1-6.el6.i686 4/9
Verifying : ppl-0.10.2-11.el6.i686 5/9
Verifying : gcc-c++-4.4.7-11.el6.i686 6/9
Verifying : gcc-4.4.7-11.el6.i686 7/9
Verifying : cloog-ppl-0.15.7-1.2.el6.i686 8/9
Verifying : wget-1.12-5.el6.i686 9/9
Installed:
gcc-c++.i686 0:4.4.7-11.el6
Dependency Installed:
cloog-ppl.i686 0:0.15.7-1.2.el6 cpp.i686 0:4.4.7-11.el6 gcc.i686 0:4.4.7-11.el6 libstdc++-devel.i686 0:4.4.7-11.el6
mpfr.i686 0:2.4.1-6.el6 ppl.i686 0:0.10.2-11.el6
Updated:
wget.i686 0:1.12-5.el6_6.1
Complete!
Tiếp theo tải ứng dụng hỗ trợ chứng thực về phía máy chủ bằng câu lệnh:
# cd /root/
# wget https://google-authenticator.googlecode.com/files/libpam-google-authenticator-1.0-source.tar.bz2
[root@SSHServer6 src]# cd /root/
[root@SSHServer6 ~]# wget https://google-authenticator.googlecode.com/files/libpam-google-authenticator-1.0-source.tar.bz2
--2015-05-16 03:17:22-- https://google-authenticator.googlecode.com/files/libpam-google-authenticator-1.0-source.tar.bz2
Resolving google-authenticator.googlecode.com... 74.125.68.82, 2404:6800:4003:c02::52
Connecting to google-authenticator.googlecode.com|74.125.68.82|:441... connected.
HTTP request sent, awaiting response... 200 OK
Length: 32708 (32K) [application/x-bzip2]
Saving to: âlibpam-google-authenticator-1.0-source.tar.bz2â
100%[========================>] 32,708 112K/s in 0.3s
2015-05-16 03:17:23 (112 KB/s) - âlibpam-google-authenticator-1.0-source.tar.bz2âsaved [32708/32708]
Tiếp theo tiến hành giải nén gói ứng dụng bằng câu lệnh:
# bunzip2 libpam-google-authenticator-1.0-source.tar.bz2
# tar -xvf libpam-google-authenticator-1.0-source.tar
[root@SSHServer6 ~]# bunzip2 libpam-google-authenticator-1.0-source.tar.bz2
[root@SSHServer6 ~]# tar -xvf libpam-google-authenticator-1.0-source.tar
libpam-google-authenticator-1.0/base32.c
libpam-google-authenticator-1.0/demo.c
libpam-google-authenticator-1.0/google-authenticator.c
libpam-google-authenticator-1.0/hmac.c
libpam-google-authenticator-1.0/pam_google_authenticator.c
libpam-google-authenticator-1.0/pam_google_authenticator_unittest.c
libpam-google-authenticator-1.0/sha1.c
libpam-google-authenticator-1.0/base32.h
libpam-google-authenticator-1.0/hmac.h
libpam-google-authenticator-1.0/sha1.h
libpam-google-authenticator-1.0/totp.html
libpam-google-authenticator-1.0/Makefile
libpam-google-authenticator-1.0/FILEFORMAT
libpam-google-authenticator-1.0/README
libpam-google-authenticator-1.0/utc-time/
libpam-google-authenticator-1.0/utc-time/app.yaml
libpam-google-authenticator-1.0/utc-time/utc-time.py
Tiếp theo chuyển vào thư mục chứa mã nguồn vừa giải nén, biên dịch mã nguồn và cài đặt mã nguồn vừa biên dịch bằng các câu lệnh sau:
# cd libpam-google-authenticator-1.0
# make
# make install
[root@SSHServer6 libpam-google-authenticator-1.0]# make
gcc --std=gnu99 -Wall -O2 -g -fPIC -c -fvisibility=hidden -o google-authenticator.o google-authenticator.c
gcc --std=gnu99 -Wall -O2 -g -fPIC -c -fvisibility=hidden -o base32.o base32.c
gcc --std=gnu99 -Wall -O2 -g -fPIC -c -fvisibility=hidden -o hmac.o hmac.c
gcc --std=gnu99 -Wall -O2 -g -fPIC -c -fvisibility=hidden -o sha1.o sha1.c
gcc -g -o google-authenticator google-authenticator.o base32.o hmac.o sha1.o -ldl
gcc --std=gnu99 -Wall -O2 -g -fPIC -c -fvisibility=hidden -o pam_google_authenticator.o pam_google_authenticator.c
gcc -shared -g -o pam_google_authenticator.so pam_google_authenticator.o base32.o hmac.o sha1.o -lpam
gcc --std=gnu99 -Wall -O2 -g -fPIC -c -fvisibility=hidden -o demo.o demo.c
gcc -DDEMO --std=gnu99 -Wall -O2 -g -fPIC -c -fvisibility=hidden -o pam_google_authenticator_demo.o pam_google_authenticator.c
gcc -g -rdynamic -o demo demo.o pam_google_authenticator_demo.o base32.o hmac.o sha1.o -ldl
gcc -DTESTING --std=gnu99 -Wall -O2 -g -fPIC -c -fvisibility=hidden \
-o pam_google_authenticator_testing.o pam_google_authenticator.c
gcc -shared -g -o pam_google_authenticator_testing.so pam_google_authenticator_testing.o base32.o hmac.o sha1.o -lpam
gcc --std=gnu99 -Wall -O2 -g -fPIC -c -fvisibility=hidden -o pam_google_authenticator_unittest.o pam_google_authenticator_unittest.c
gcc -g -rdynamic -o pam_google_authenticator_unittest pam_google_authenticator_unittest.o base32.o hmac.o sha1.o -lc -ldl
[root@SSHServer6 libpam-google-authenticator-1.0]# make install
cp pam_google_authenticator.so /lib/security
cp google-authenticator /usr/local/bin
[root@SSHServer6 libpam-google-authenticator-1.0]#
Tiếp theo tiến hành tạo mã xác thực bằng câu lệnh sau:
# google-authenticator
[root@SSHServer6 libpam-google-authenticator-1.0]# google-authenticator
Do you want authentication tokens to be time-based (y/n) y
https://www.google.com/chart?chs=200x200&chld=M|0&cht=qr&chl=otpauth://totp/root@SSHServer6.4%3Fsecret%3D5VEVSEXJDMVO2KE3
Your new secret key is: 5VEVSEXJDMVO2KE3
Your verification code is 706920
Your emergency scratch codes are:
60933260
35575999
27437861
21298726
18035761
Do you want me to update your "/root/.google_authenticator" file (y/n) y
Do you want to disallow multiple uses of the same authentication
token? This restricts you to one login about every 30s, but it increases
your chances to notice or even prevent man-in-the-middle attacks (y/n) y
By default, tokens are good for 30 seconds and in order to compensate for
possible time-skew between the client and the server, we allow an extra
token before and after the current time. If you experience problems with poor
time synchronization, you can increase the window from its default
size of 1:30min to about 4min. Do you want to do so (y/n) y
If the computer that you are logging into isn't hardened against brute-force
login attempts, you can enable rate-limiting for the authentication module.
By default, this limits attackers to no more than 3 login attempts every 30s.
Do you want to enable rate-limiting (y/n) y
Tiếp theo ta sử dụng điện thoại để tiến hành cài đặt tài khoản, có thể sử dụng đường link để lấy mã cho trình xác thực điện thoại hoặc có thể sử dụng mã bí mật để xác thực bằng tay ngoài ra còn có thể sử dụng các mã dự phòng để sử dụng khi mất điện thoại hoặc cho người khác đăng nhập vào SSH, mỗi mã dự phòng này chỉ được sử dụng được 1 lần, ở đây tôi sẽ sử dụng link để lấy mã:

Hình 1.6 Mã vạch xác thực tài khoản
Sau khi có mã vạch xác thực tài khoản, ta sử dụng điện thoại để thiết lập tài khoản từ đó có thể nhận được mã xác thực đã được đồng bộ hóa trên máy chủ Linux và điện thoại

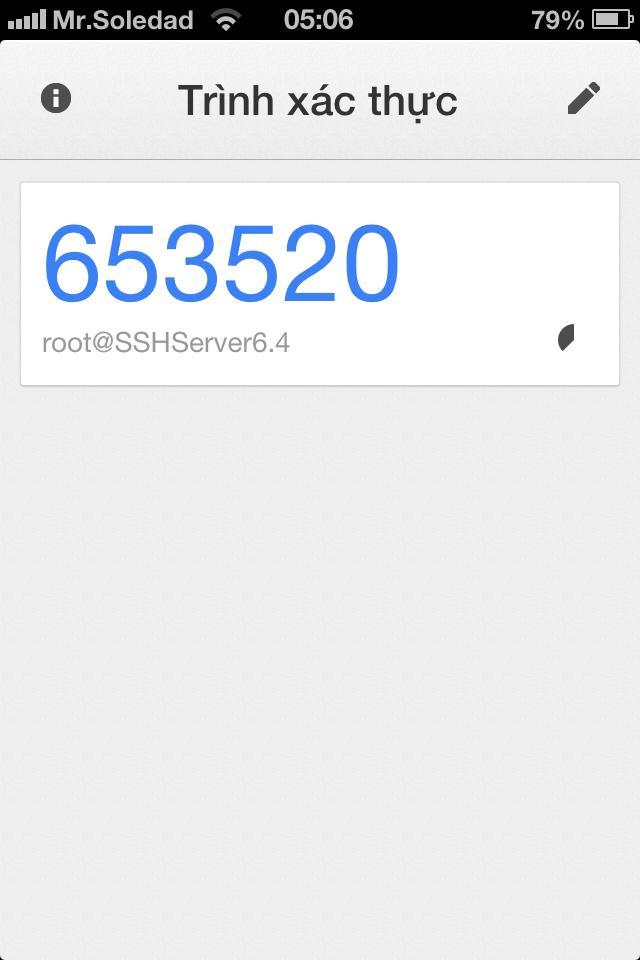
Hình 1.7 Thiết lập tài khoản trên điện thoại
Quay lại phía máy chủ và thiết lập các tập tin cần thiết để hoàn tất cài đặt hệ thống, chỉnh sửa các tập tin theo các câu lệnh sau:
# vi /etc/pam.d/sshd
[root@SSHServer6 libpam-google-authenticator-1.0]# vi /etc/pam.d/sshd
#%PAM-1.0
auth required pam_google_authenticator.so
auth required pam_sepermit.so
auth include password-auth
account required pam_nologin.so
account include password-auth
password include password-auth
# pam_selinux.so close should be the first session rule
session required pam_selinux.so close
session required pam_loginuid.so
# pam_selinux.so open should only be followed by sessions to be executed in the user context
session required pam_selinux.so open env_params
session optional pam_keyinit.so force revoke
session include password-auth
Thêm vào đoạn mã
auth required pam_google_authenticator.so
# vi /etc/ssh/sshd_config
# $OpenBSD: sshd_config,v 1.80 2008/07/02 02:24:18 djm Exp $
# This is the sshd server system-wide configuration file. See
# sshd_config(5) for more information.
# This sshd was compiled with PATH=/usr/local/bin:/bin:/usr/bin
# The strategy used for options in the default sshd_config shipped with
# OpenSSH is to specify options with their default value where
# possible, but leave them commented. Uncommented options change a
# default value.
#Port 22
#AddressFamily any
#ListenAddress 0.0.0.0
#ListenAddress ::
# Disable legacy (protocol version 1) support in the server for new
# installations. In future the default will change to require explicit
# activation of protocol 1
Protocol 2
# HostKey for protocol version 1
#HostKey /etc/ssh/ssh_host_key
# HostKeys for protocol version 2
#HostKey /etc/ssh/ssh_host_rsa_key
#HostKey /etc/ssh/ssh_host_dsa_key
# Lifetime and size of ephemeral version 1 server key
#KeyRegenerationInterval 1h
#ServerKeyBits 1024
# Logging
# obsoletes QuietMode and FascistLogging
#SyslogFacility AUTH
SyslogFacility AUTHPRIV
#LogLevel INFO
# Authentication:
#LoginGraceTime 2m
#PermitRootLogin yes
#StrictModes yes
#MaxAuthTries 6
#MaxSessions 10
#RSAAuthentication yes
#PubkeyAuthentication yes
#AuthorizedKeysFile .ssh/authorized_keys
#AuthorizedKeysCommand none
#AuthorizedKeysCommandRunAs nobody
# For this to work you will also need host keys in /etc/ssh/ssh_known_hosts
#RhostsRSAAuthentication no
# similar for protocol version 2
#HostbasedAuthentication no
# Change to yes if you don't trust ~/.ssh/known_hosts for
# RhostsRSAAuthentication and HostbasedAuthentication
#IgnoreUserKnownHosts no
# Don't read the user's ~/.rhosts and ~/.shosts files
#IgnoreRhosts yes
# To disable tunneled clear text passwords, change to no here!
#PasswordAuthentication yes
#PermitEmptyPasswords no
PasswordAuthentication yes
# Change to no to disable s/key passwords
ChallengeResponseAuthentication yes
#ChallengeResponseAuthentication no
# Kerberos options
#KerberosAuthentication no
#KerberosOrLocalPasswd yes
#KerberosTicketCleanup yes
#KerberosGetAFSToken no
#KerberosUseKuserok yes
Sửa đoạn mã
#Change to no to disable s/key passwords
#ChallengeResponseAuthentication yes
ChallengeResponseAuthentication no
Thành
#Change to no to disable s/key passwords
ChallengeResponseAuthentication yes
#ChallengeResponseAuthentication no
Sau đó lưu các tập tin này lại và thực hiện các lệnh:
# service sshd restart
Để khởi khởi động lại dịch vụ sshd
[root@SSHServer6 ~]# service sshd restart
Stopping sshd: [ OK ]
Starting sshd: [ OK ]
# setenforce 0
Để tắt SELinux nhằm cho phép điều khiển truy cập vào các ứng dụng. Sau đó khởi động lại kết nối mới ta sẽ có được phương thức truy cập hai bước bao gồm mã xác thực Google Authenticator và mật khẩu của tài khoản.

Hình 1.8 Yêu cầu nhập mã xác thực khi đăng nhập
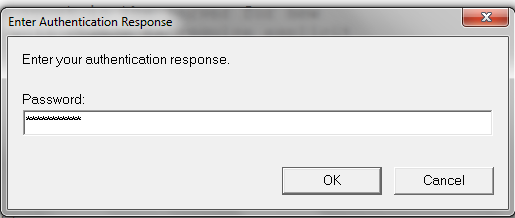
Hình 1.9 Yêu cầu nhập mật khẩu sau khi nhập mã xác thực
- Tìm hiểu quy ước đặt tên thiết bị lưu trữ trong Linux
- Tìm hiểu cấu trúc i-node và cách đọc thông tin tệp tin trong Linux
- Xu hướng mới trong phân tích và thiết kế hệ thống thông tin
- MuZero – Thuật toán Trí tuệ nhân tạo có khả năng tự học mạnh mẽ
- Chủ đề OSCP (Port Redirection and SSH Tunneling) (tiếp theo)